Billingham

The Domke F-3x One Year On

014_DerekClarkPhoto-Domke.jpg

I wanted to do a follow-up to my review of the Domke F-3x that I wrote back in August 2018 called Domke Or An Ass. There’s so much more you pick up on a bag (or any product for that matter) after using it over a long period of time. Those things tend to be both good and bad. Probably the biggest thing I’ve realised about the F-3x (which would apply to a lot of Domke bags) is that it’s a blank canvas and should be adapted to the individual.

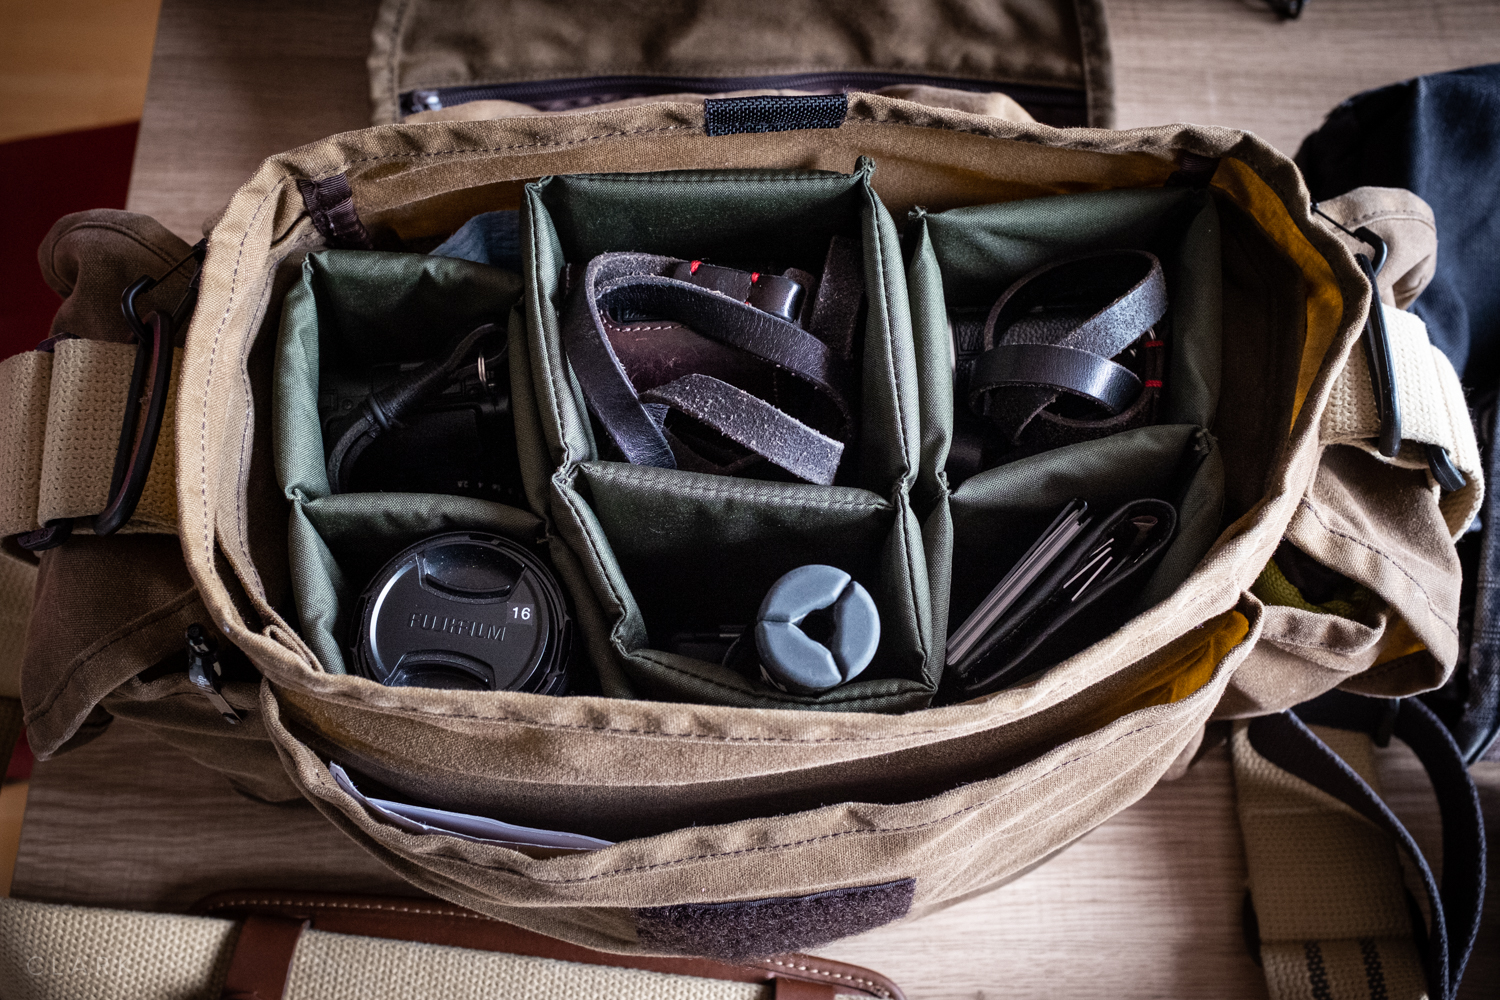
Top row (left to right) Fujifilm X70, X-Pro2 & X100F. Bottom row (left to right) Fujinon 50mm f2 & 16mm f2.8 lenses stacked, GoPro Hero 7, Fuji WCL-X100 lens & wallet.

Top row (left to right) Fujifilm X70, X-Pro2 & X100F. Bottom row (left to right) Fujinon 50mm f2 & 16mm f2.8 lenses stacked, GoPro Hero 7, Fuji WCL-X100 lens & wallet.

BILLINGHAM SUPERFLEX INSERTS

I wasn’t keen on the setup of the F-3x main compartment as it had very little protection for my gear. Two very thin canvas loops (designed for lenses and a single piece of padding to keep two bodies apart is just not enough (for me at least). Smaller lenses can get under those bottomless canvas loops and go on a tour of the bag, visiting the rest of the gear inside with nasty results. So in my review, I used two different inserts. The Billingham Hadley Small is narrow, doesn’t really utilise the space of the F-3x that well, but is a good insert for the bag and provides a great amount of protection for the equipment inside. The Koolertron (seen in my review), although a great insert with good protection, didn’t really make use of the amount of space it took up, which was all of the main compartment. It also made the F-3x very boxy due to its tight fit and is the full height of the bag. Domke dividers didn’t give me the sizes I was looking for.

But then I came across the Billingham Superflex Partitions, a full range of fold-flat bottomless inserts that allow me to use the space in my F-3x more efficiently. The Superflex series are all 15cm in depth (back to front), which is almost perfect for the base of the F-3x (just overhanging slightly). The height and width of these dividers are in the names, with the last number always being the height. So a 9-15 is 9cm wide and 15cm tall (remember the depth is always 15cm across the range. A 10-18 is 10cm wide and 18cm tall. The F-3x can take the 18cm range comfortably, but I opted for the 15cm high ones as it provided a good depth for my cameras and lenses without having to dig down to reach my gear. It also leaves some room on the top for a scarf or a book if required, and lets the lid of the bag be a little more loose and floppy, which I like about the F-3x.

A view with the content pulled out slightly.

A view with the content pulled out slightly.

All of the Superflex inserts are divided into two compartments and there is a good amount of variation from size to size. The 9-15 is divided up into two sections of 9cm and 6cm, which is ideal for my X-Pro2 with a Gariz leather half case and either a 16/2.8, 18/2, or 35/2 lens attached in the 9x9cm part and then I can fit an X70 without a hood, or more small lenses. It’s worth pointing out that one compartment on each insert is always a square. So the first number of the name has that many centimetres square. 9-15 has a 9x9cm compartment, 12-21 has a 12x12cm compartment and so on (see diagram below).

My X100F sits nicely in the 8-15, which is divided up into 8cm and a 7cm compartments. So the X100F can fit in the 8cm space with lens hood attached and the X70 can fit in the 7cm space with lens hood attached too. My third and last Superflex divider is the 7-15, which like the 8-15 is divided up into 8cm and 7cm compartments. This one is ideal for lenses and accessories. Here is Billingham’s chart for the various sizes of Superflex inserts (the 9-21 to 12-21 won’t fit the F-3x, they are too tall). You can also find my review of the excellent Billingham Hadley Small Pro HERE.

These are the sizes available of the Billingham Superflex Inserts

These are the sizes available of the Billingham Superflex Inserts

THE WAX OF THE RUGGED WEAR BAGS

You can sit at a computer for days reading about all that has been written about the wax coating of these Rugged Wear Domke bags. In my opinion, they look good, but no-one wants to get wax on their hands that then gets transferred on to cameras and lenses. So I went through a phase at the beginning of leaving my F-3x outside in the sun and wiping the wax off with a towel as much as possible. Waterproofing is nice, but it’s not a massive deal for me, and if I really did get caught in a massive downpour I know that most of my kit is weather sealed. So one year in and the wax has been removed quite a bit by me and by natural use.

Domke Post Office Pad on the F2 Shooters Bag. The most comfortable shoulder pad I’ve used.

Domke Post Office Pad on the F2 Shooters Bag. The most comfortable shoulder pad I’ve used.

DOMKE POST OFFICE PAD

Domke’s Post Office Pad is an optional accessory that I bought at the same time as the F-3x. It can make a huge difference in the comfort of the shoulder strap when carrying a lot of heavy gear. I was very grateful for it on days when I had my Hasselblad system (500c/m, two lenses, two backs and a light meter) and the Fuji system together. But around the six-month mark I started to notice the glue that held the rubber padding to the plastic shoulder plate (that attached to the strap) was breaking down.

BILLINGHAM SP50 LEATHER SHOULDER PAD

Another option for a shoulder pad on Domke bags with a 2” strap is the Billingham SP50. These pads are well made and come in either Tan, Chocolate or Black leather. They have a decent amount of padding and look great, but the Domke Post Office Pad wins for comfort.

VELCRO ON THE MAIN FLAP

This is a negative point I’m afraid, but not a deal-breaker. The velcro on the main lid of the bag should have been twice the height that it is because unless the bag is stuffed full, the two pieces of velcro can miss each-other completely and be useless at holding the bag shut. This is a problem because Domke users tend to only fasten the metal clamps when in transit but rely on the velcro while working out of the bag.

One other slight annoyance is that the ring to attach the main clasp at the front of the bag seems to be under the bag rather than on the front. The clasps themselves tend to get a bad right-up, but I don’t find them to be a problem and I can easily undo the one on my F-3x one-handed while the bag is on my shoulder.

SLEEPING WITH THIEVES

After using the F-3x for a good length of time, I have found that they are pretty good for sleeping on while sitting in a chair at airports and hospital waiting rooms. I have my Shemagh scarf sitting on the top of my bag (between the cameras and the lid), so it’s quite comfortable to put both arms over the top of the bag and lay my head on my arms. This also ensures your bag will still be there when you wake-up. So I’ll admit it; I love my Domke so much I’ve slept with it :o)

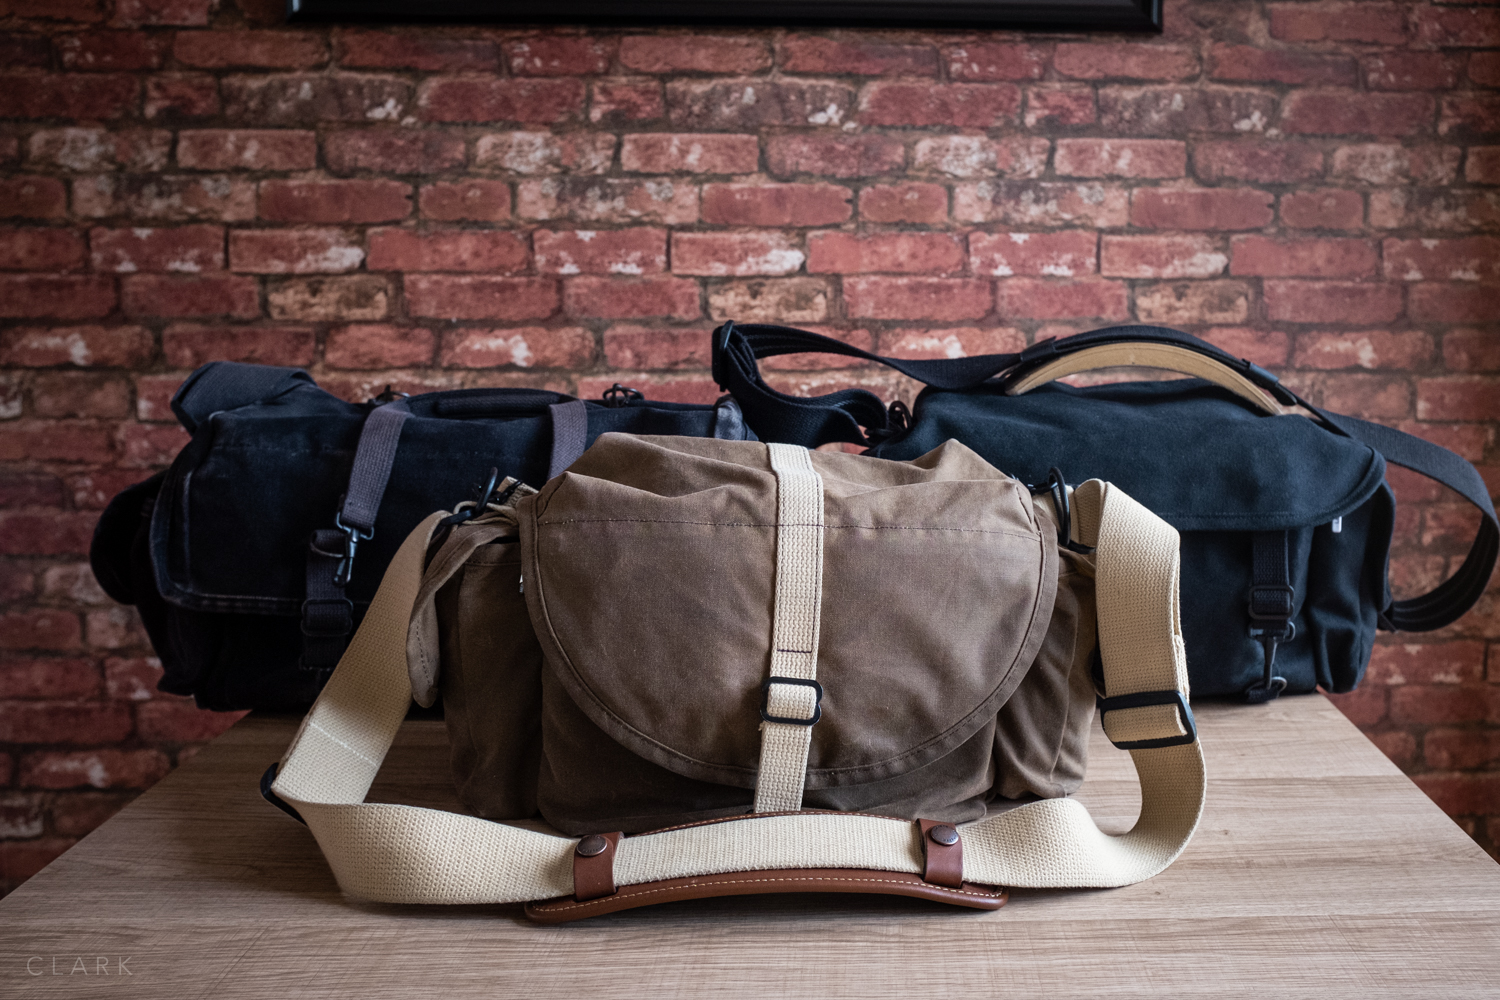
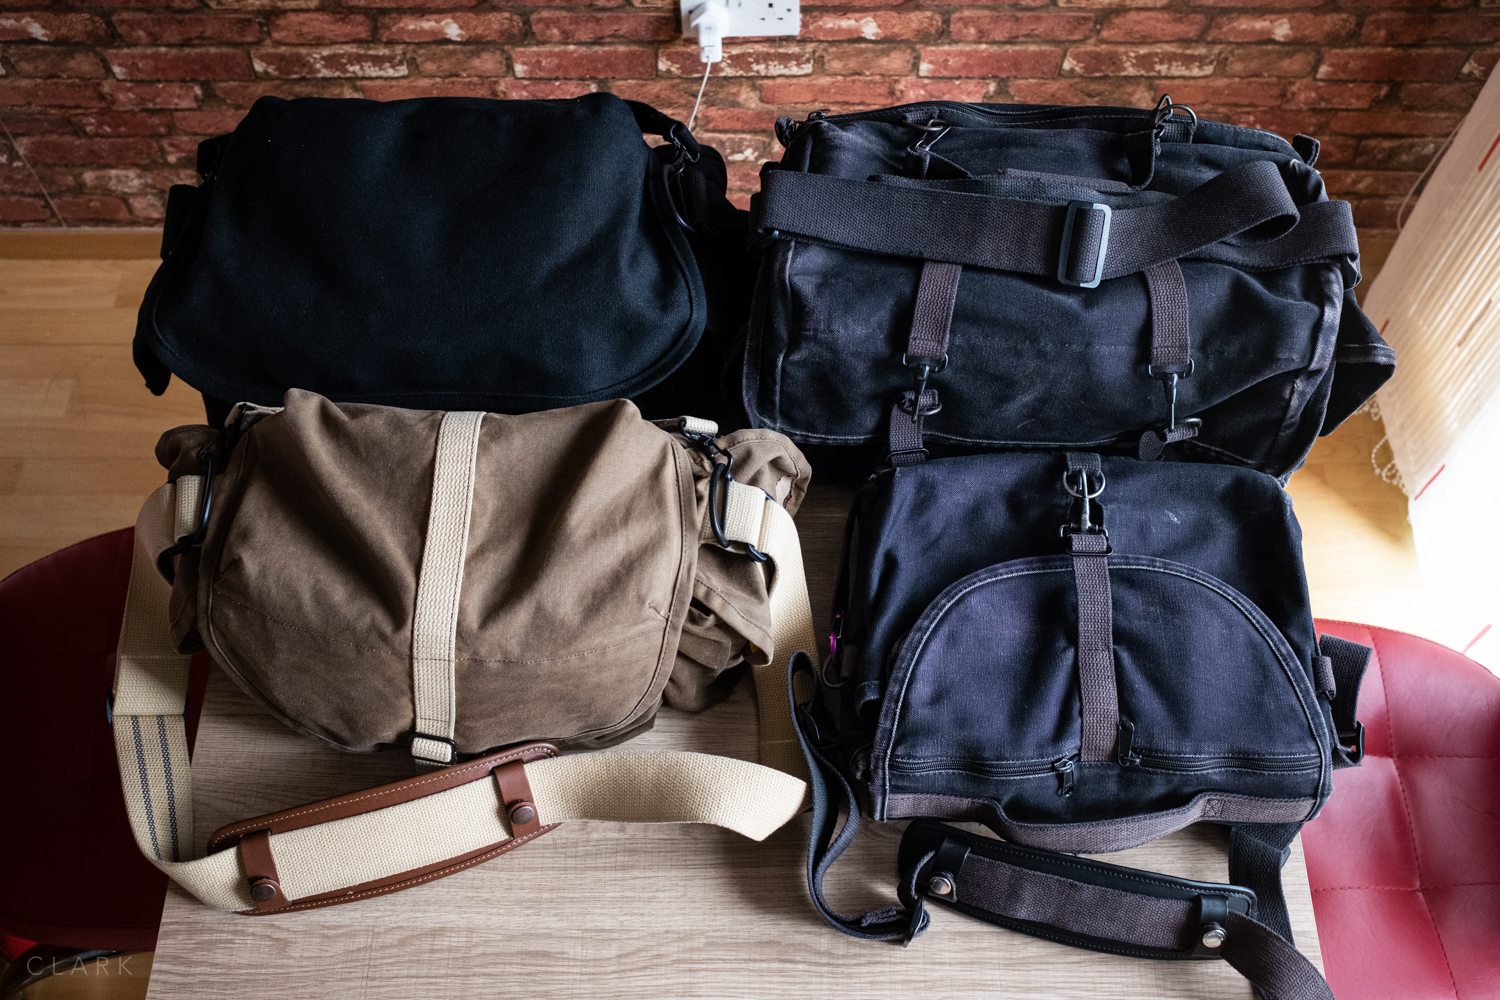
Domke F2 (top left), F-1x (top right), F-3x (bottom left and the F-803 (bottom right). All three black bags are canvas but the F2 is new.

Domke F2 (top left), F-1x (top right), F-3x (bottom left and the F-803 (bottom right). All three black bags are canvas but the F2 is new.

DOMKE BAGS ARE MOREISH

Domke bags can get a little addictive once you have used one. It’s even worse in, like me, you have a natural affinity for really worn and even abused bags. Domke is sort of the Leica of camera bags. Just like an old M3 looks better with plenty of brass showing through the black paint, Domke bags look better the more scuffed and faded they become. I for one have spent far too many hours trolling Ebay for used and abused Domke’s.

Ruggerwear waxed canvas bags are sort new as they are made from a cloth material. The standard canvas bags are less pliable and take a while to break in but become soft like denin as time goes by.

SIZE COMPARISON

There can often be some confusion over the size of Domke bags, so hopefully, the pictures above will help if you are considering one of these camera bags. The F2 is my work bag and holds a lot of kit, but it has to be packed in a specific way to fit in everything needed for a music shoot with an X-T3 & X-T2 kit. I will get round to doing a post about the F2 soon. In the meantime, leave any questions in the comments below and I’ll try to hep if I can.

You can buy the F-3X at Amazon UK

I also have a review of the small Domke F-5xb

Billingham Hadley Small Pro Review

004_Billingham-Hadley-Small-Pro_DerekClarkPhoto.jpg

My day to day small walk around camera bag for the past two years has been the ONA Bowery in Dark Truffle leather. I also have the ONO Prince Street (also in Dark truffle) but my Hasselblad stuff lives in that one. I still really love the Bowery for the amount of gear I can fit in such a small space, but I felt like trying something new.

My friend John Summers had given me an insert for a Hadley Small a while back and I’ve used it in various bags, including the Christopher by Millican and recently in the F-3x by Domke. The size of that insert is perfect and almost identical to the Bowery. So after looking at various small bags from many different manufacturers, I kept coming back to the fact that I was looking for something that would either take the Hadley Small insert or have the same interior size. So being the genius that I am, I finally realised the bag I was looking for might just be a Billingham.

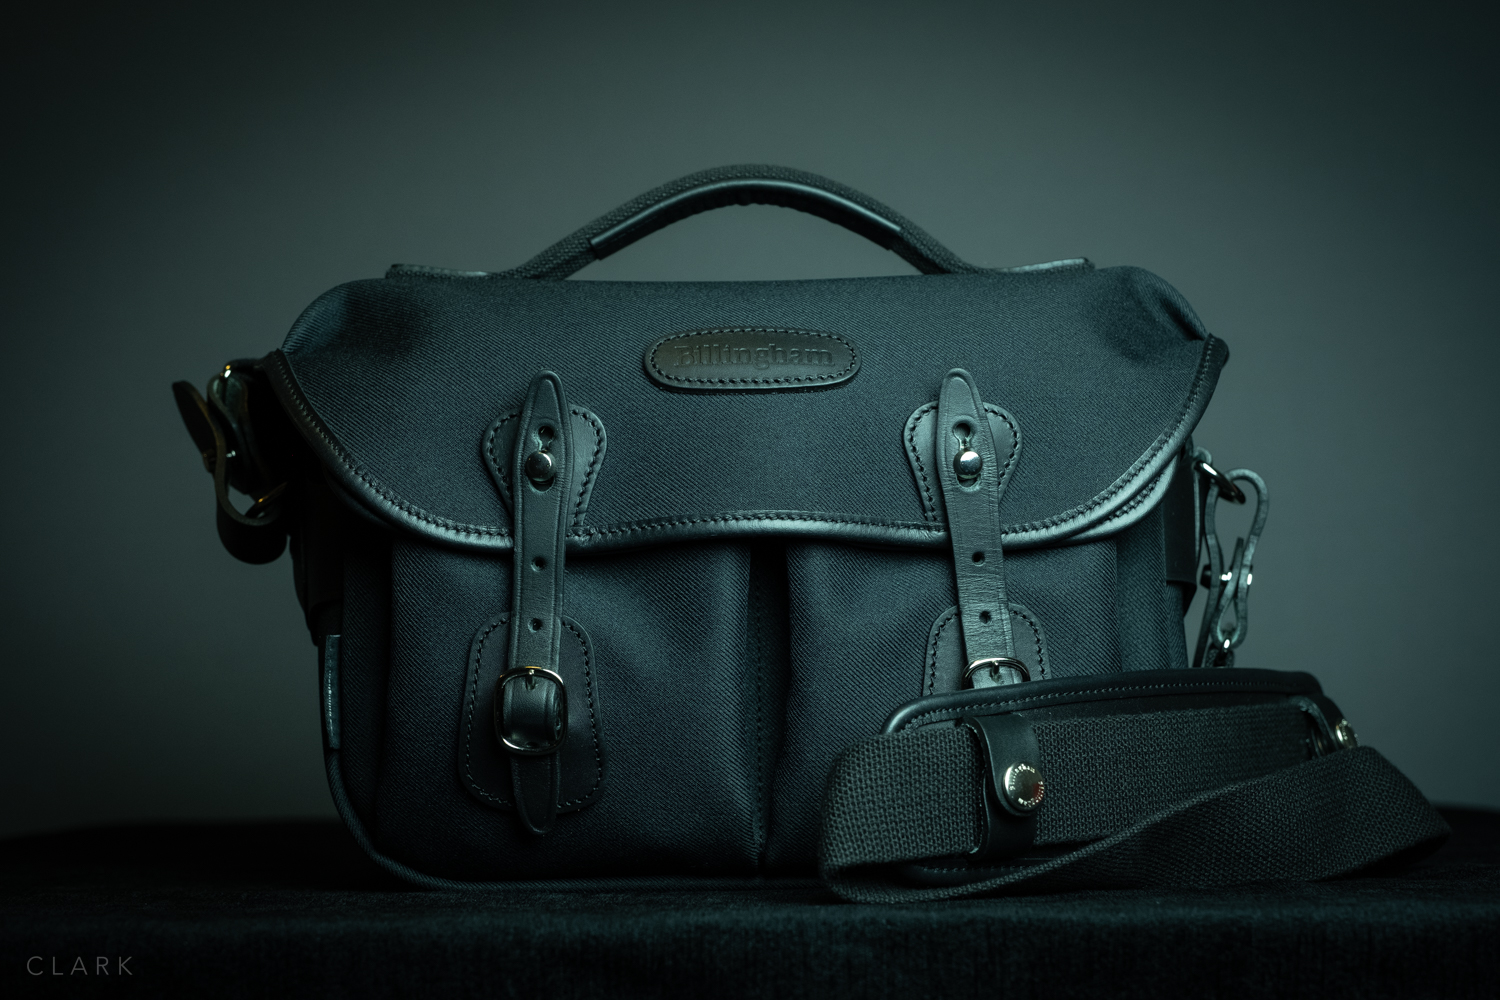
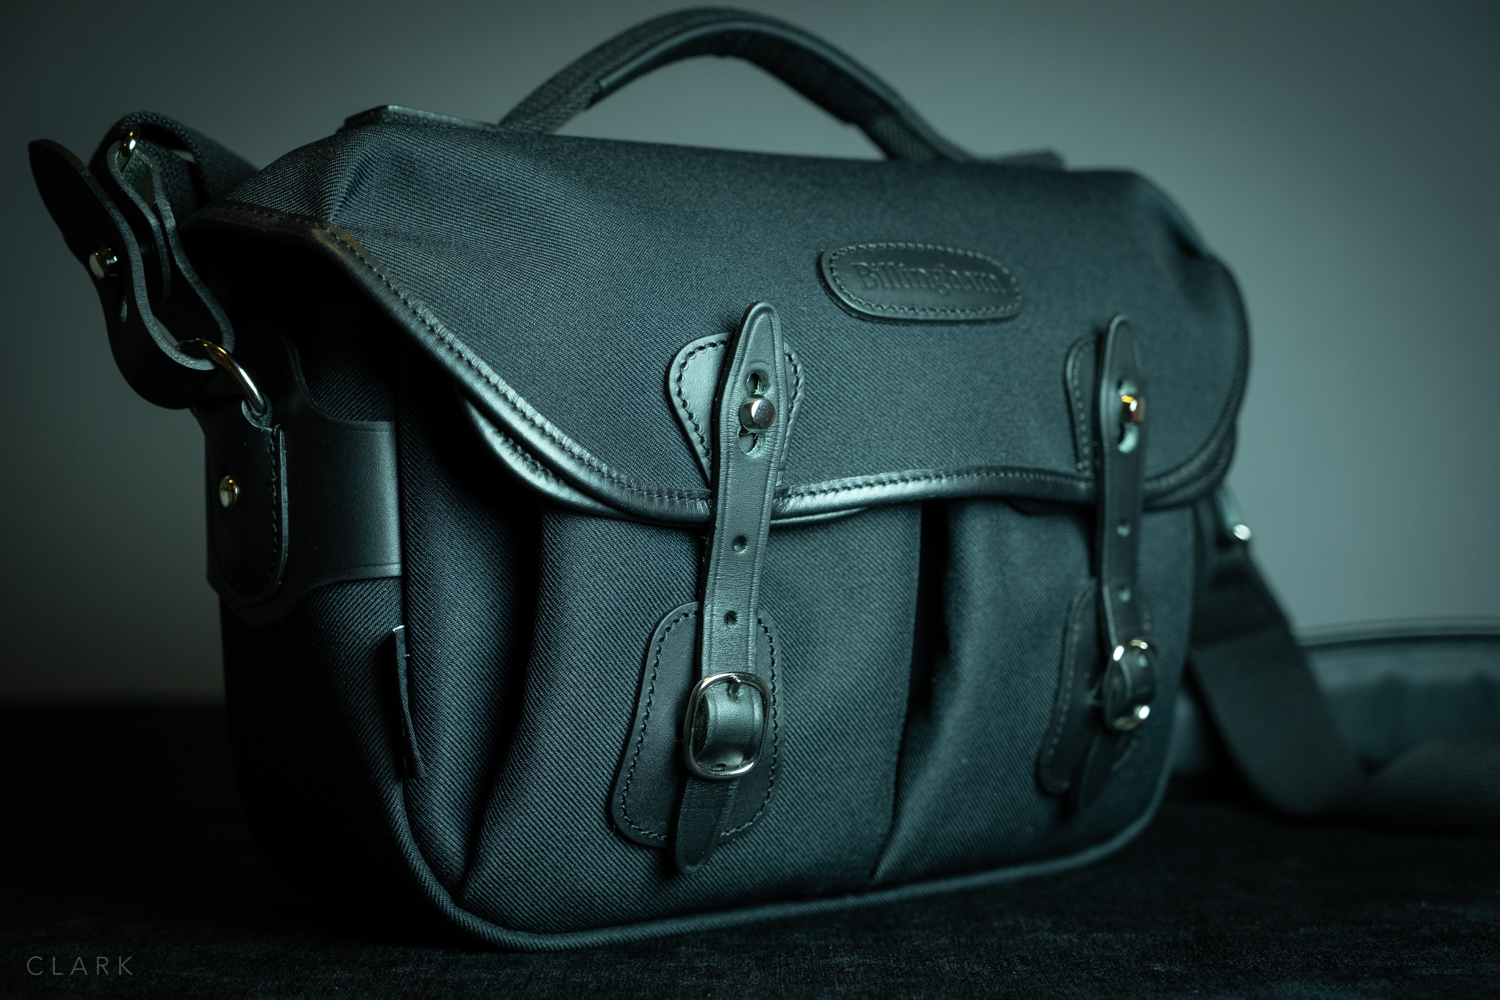
Not being too into the beige thing and wanting to be a lot more stealth; I opted for the black bag with black leather details. The original Hadley Small is still available (£159 in the UK), but the new Hadley Small Pro was released last year (£199 UK) and has some really worthwhile additions to the original bag (more on this later).

The Hadley Small Pro is made from Billinghams FiberNyte material, which has a layer of rubber sandwiched in the middle of its three-ply makeup. This makes the Hadley range permanently shower proof, no need to apply wax or use an additional rain cover when out in the rain. My bags always get soaked at some point, so this will be a really handy feature. The strap on the original Hadley Small was stitched to the side of the bag, but the Pro has a removable strap via leather fasteners. I would rather have the older method as I don’t trust straps that are removable. This is mostly due to the ONA Bowery strap coming undone loads of times as I lifted it from the passenger seat of my car. This resulted in the destruction of a Fuji X100F when the Bowery hit the deck. My Bowery now has zip ties holding the clasps on the strap permanently shut. Time will tell if the Billingham is more secure than the ONA, but it is absolutely solid right now and should stay that way as I won't be removing them, causing the leather to soften.

The handle is fairly rigid and easy to grab. It’s riveted and stitched to the top of the bag which has an internal support

The handle is fairly rigid and easy to grab. It’s riveted and stitched to the top of the bag which has an internal support

Another new feature on the Pro is the addition of a handle on the top. This is ideal for that passenger seat scenario and a great feature to have. I would make sure the lid is secure before using the handle, but at least the Hadley Small Pro doesn’t tip over, spilling everything onto the ground. .

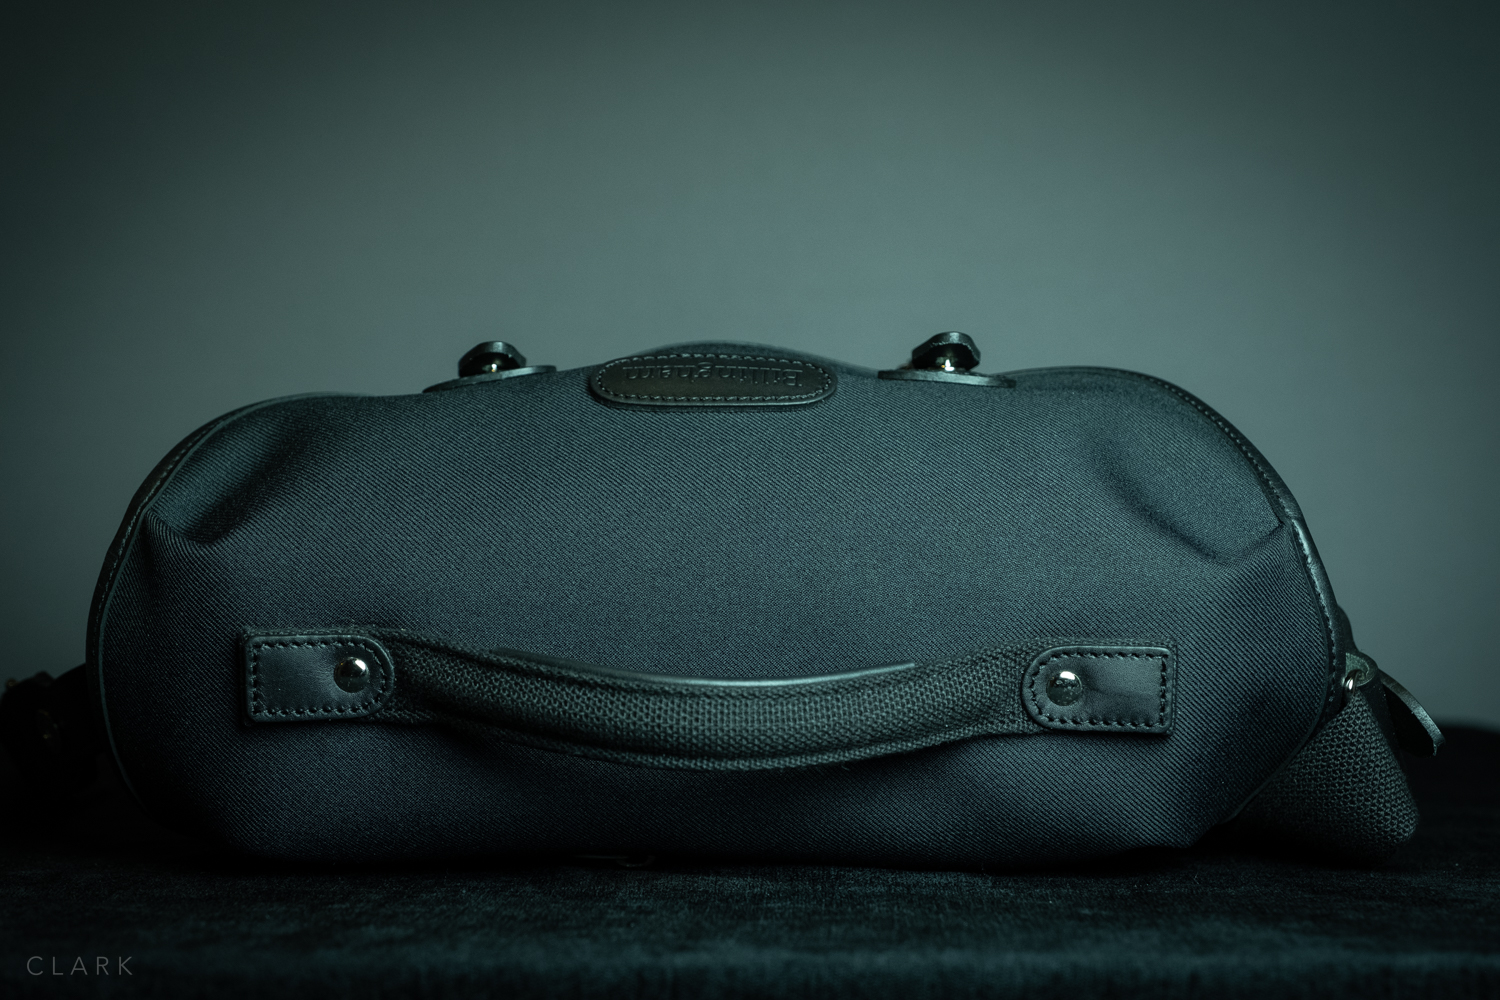
Two more new features on the Pro are found around the back. The first is the welcomed addition of a luggage strap so that it can be slid over the handle of a rolling suitcase. All bags should have this in my opinion.

Waterproof zip keeps iPads or documents dry and the luggage strap is really useful

Waterproof zip keeps iPads or documents dry and the luggage strap is really useful

Just above the luggage strap, you will find the waterproof zip for the rear document pocket. This is a super handy pocket that will keep documents or iPad Mini 100% dry. Well worth the price difference between the Pro and the older model.

027_Billingham-Hadley-Small-Pro_DerekClarkPhoto.jpg
020_Billingham-Hadley-Small-Pro_DerekClarkPhoto.jpg
018_Billingham-Hadley-Small-Pro_DerekClarkPhoto.jpg

The main compartment of the Hadley Small Pro (and also the original Small) is one open space that can be used as it is, or with the included insert. This is one of those bags that feels bigger on the inside than it is on the outside. I can easily fit my X-Pro2 with the 35mm f2 attached, X100F with lens hood, and two lenses stacked in the third partition (I have the 50mm f2 and the WCLX100 wide angle converter lens). Two cameras and four focal lengths (28, 35, 50 & 75mm in FF terms) is fantastic in such a small bag and there’s even enough room in there to include the pancake 27mm too. Or I can leave the 50/2 at home and take my X70 for a bit of shooting from the hip. The insert is held inside the bag using a single stud fastener at the front. It has a padded hinged lid to protect gear from things falling on top..

This is everything I have in the Hadley Small Pro. The Fuji X70 gets swapped for the 50mm f2 sometimes

This is everything I have in the Hadley Small Pro. The Fuji X70 gets swapped for the 50mm f2 sometimes

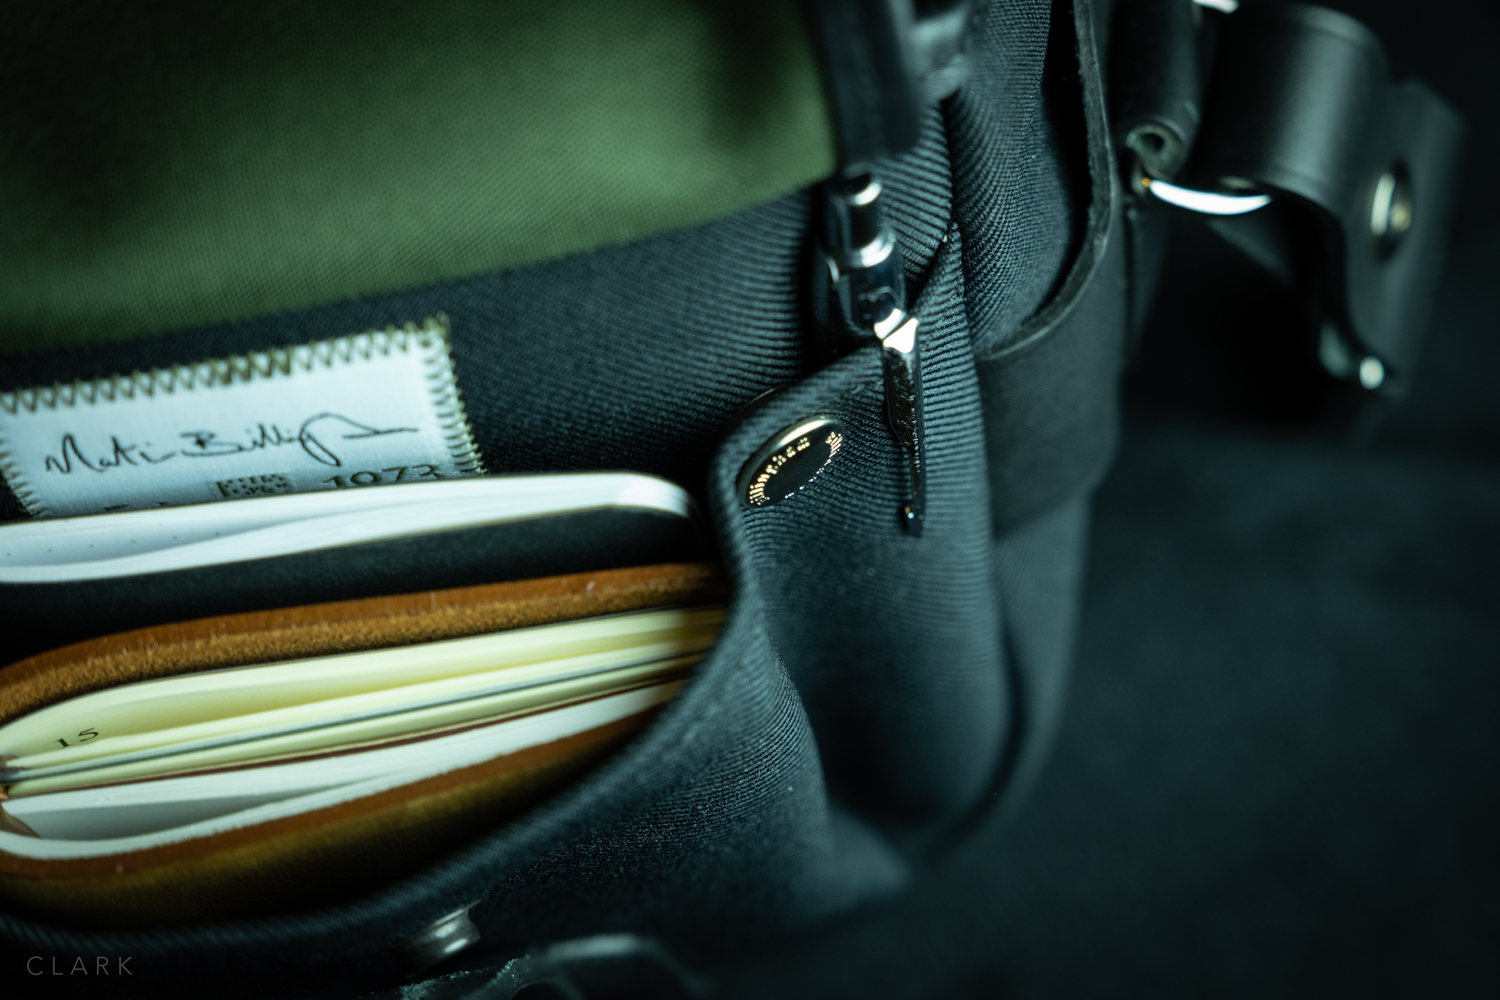
The front pockets are held shut with stud fasteners and are really great for a bag this size. Both are roomy and can be expanded or reduced in size by fastening a stud at the outer side. This also creates a makeshift pen holder. I can put my passport sized Midori Travellers Notebook, pens, wallet, memory card holder, phone, spare batteries, and Apple Airpods in there with space to spare. 

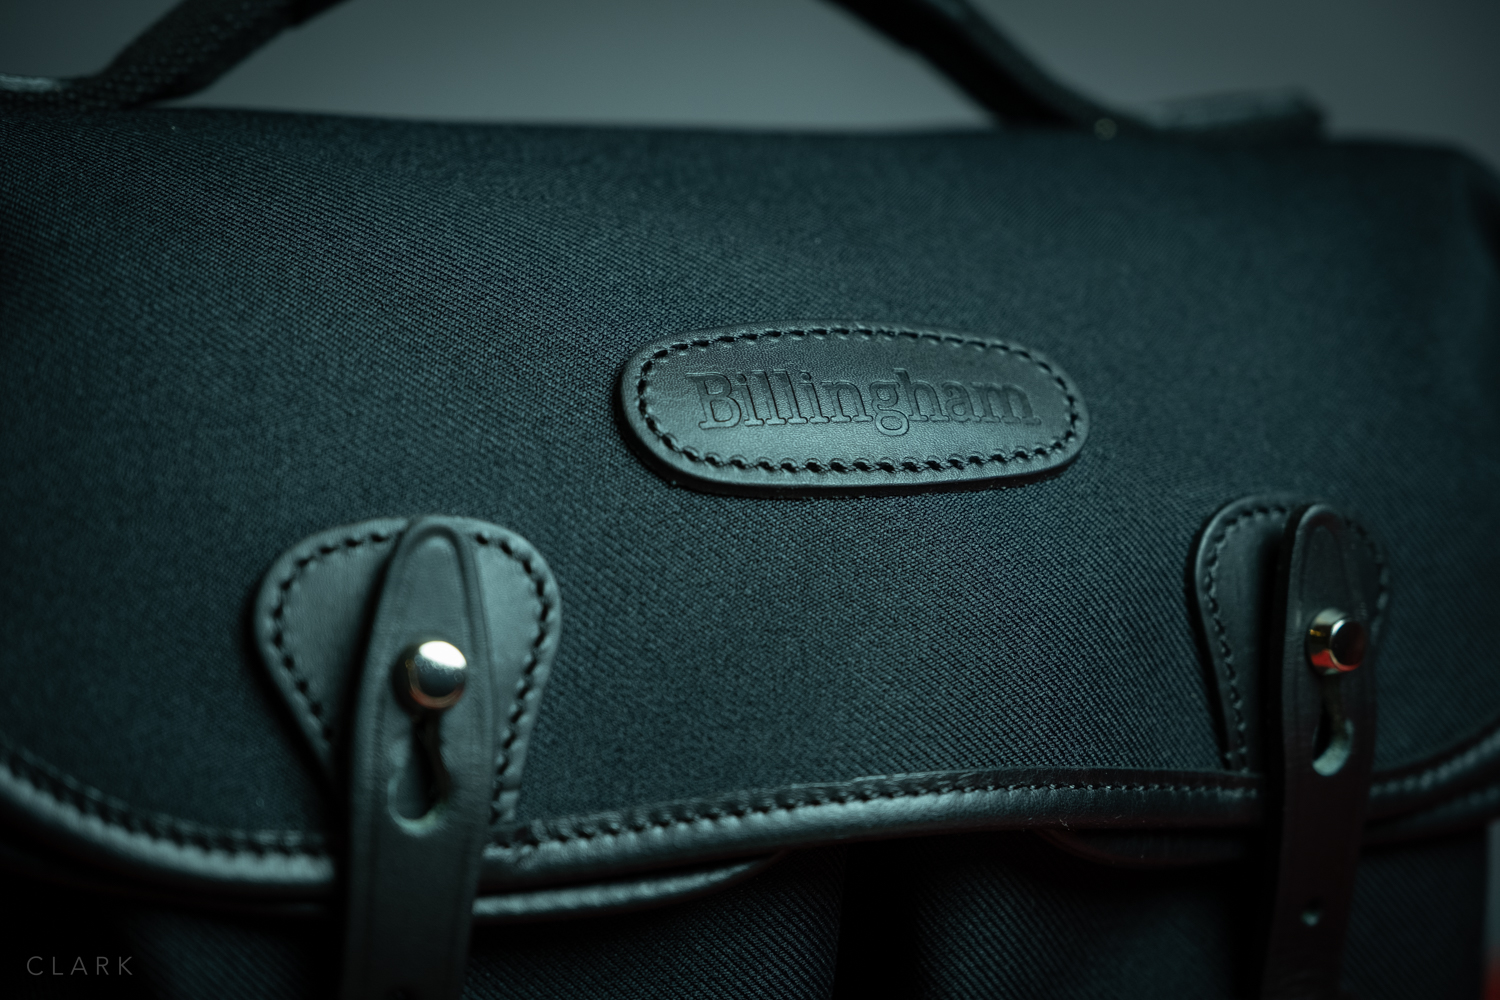
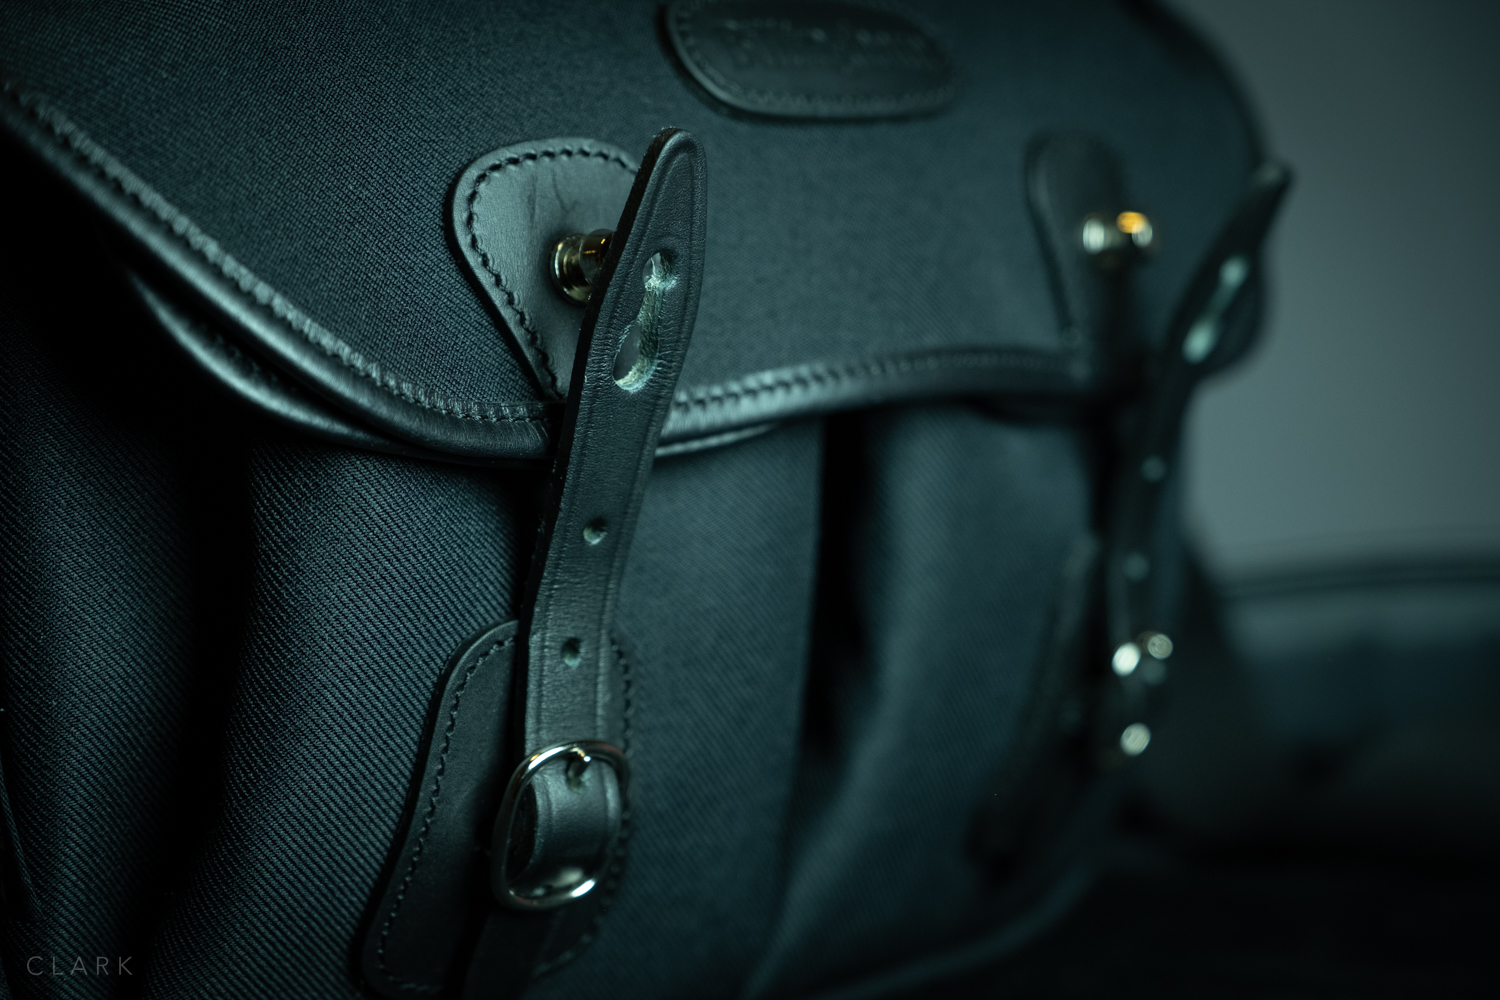
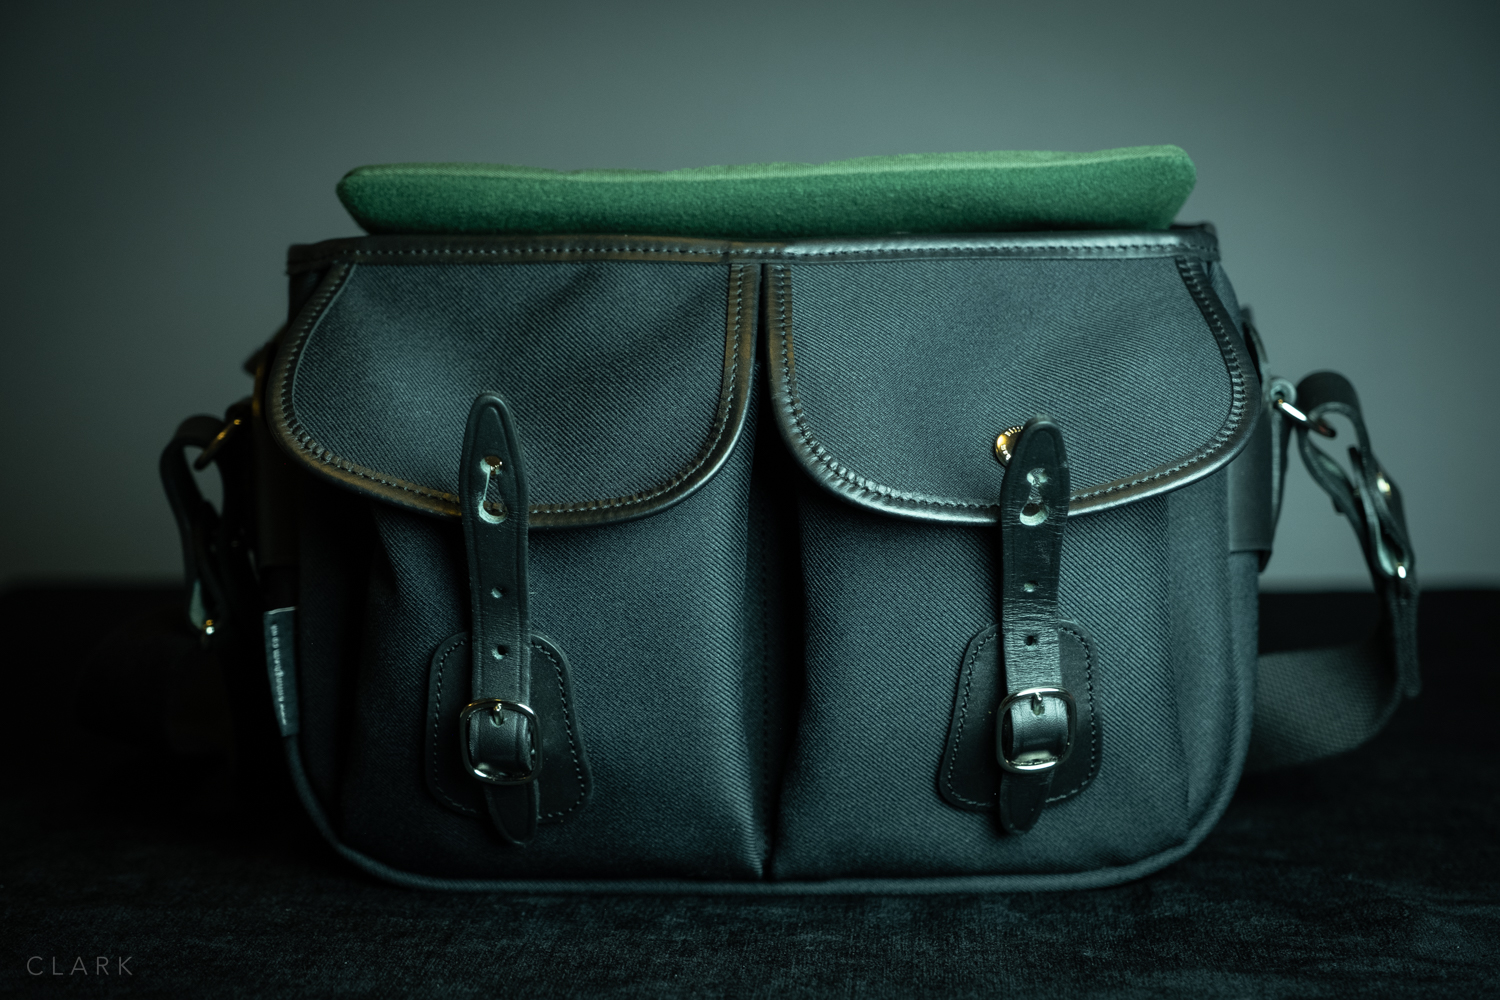
The leather and brass fixings ooze quality and should last a lifetime. I opted for the black leather on a black bag, so the fixings are also nickel plated. It’s almost criminal to not show off the leather like on some of the two-tone bags, but I need something that doesn’t draw attention. I was almost tempted by the green version though as they always look really nice on the web.

The front fasteners as extremely stiff due to the excellent quality of leather and can be awkward and time-consuming to open, but it should just take a short amount of time to loosen up to the point of opening the bag one-handed.

OPTIONAL ACCESSORIES

I opted to buy the SP40 leather shoulder pad at the same time as the bag. Not having tried the bag before, I wasn’t sure if I would even need a shoulder pad, but I thought it was better to be over prepared than have a sore shoulder. The pad is as well made as the bags and is easily attached or removed by two heavy-duty stud fasteners. The underside of the pad is grippy and curves around your shoulder perfectly due to grooves that allow it to bend without kinking.

013_Billingham-Hadley-Small-Pro_DerekClarkPhoto.jpg

CONCLUSION

The Hadley Small Pro is an ideal bag for smaller kits. Leica owners or mirrorless shooters alike will love it. I have a backpack for my more demanding shoots, which is where my X-T3, X-T2 and most of my other lenses live (including the bigger red label f2.8 zooms). But for day to day walking around documentary and street shooting, this is an ideal bag. It’s waterproof and versatile and I'm looking forward to using it on a few trips abroad this year.

I also have a Tenba Cooper 13 Slim that I use when I need to carry my 13” MacBook Pro with me. The Cooper has been a fantastic bag, but I might try a Hadley Pro or a Hadley One to see if it would work as my mid-sized bag. Life would probably be a bit easier using different sizes of the same bag...I think.

Pros. 

  • Top Handle.

  • Luggage Strap.

  • Rear waterproof pocket.

  • Removable camera insert.

  • Good amount of padding.

  • A generous amount of dividers (unlike ONA).

  • Good sized and expandable front pockets.

  • Comfortable to wear on long walks.


Cons

  • I would have preferred leather on the base or some sort of wipe clean material.

  • Leather tabs are a bit short to get a proper grip when opening the bag.

  • Difficult to open one-handed (this might change as the leather softens).

Find out more at www.billingham.co.uk

But the Hadley Small Pro at Amazon UK