X-T1

Fuji X-T1 & Bowens Streamlite 530 Portraits

I have around thirty head shots to do this week and I want to use a really simple 'one light' setup that I could see exactly what I was going to get straight off. I would normally use a multiple speedlight setup for this kind of location shoot, but space and time are tight. So I opted to use a single Bowens Streamlite 530 constant light. The Streamlite series use daylight balanced florissant bulbs, five of them in the case of the 530 or 3 in the Streamline 330. But I thought it would be a good idea to test the setup before the actual shoot as I will need to hit the ground running. would one Streamline be enough? So I enlisted my kids to model for my. That's why photographers have kids...right? I'm not sure what background I want to use, so I pulled out three of my favourites from Lastolite. I chose the Washington/Dakota, White/Grey and the Black Velvet. I shot all of the pictures below with an X-T1 and the 35mm f1.4. The Bowens Streamlite had all five bulbs switched on. I shot in JPEG with the following settings:

  • ISO: 400
  • Shutter Speed: 1/125th
  • Aperture: f2.8, f3.6 & f4
  • Film Simulation: Classic Chrome
  • Noise Reduction: -2
  • Sharpness: +2
  • Highlights: -1
  • Shadows: 0
  • Colour: +2
  • Dynamic Range: 200
  • White Ballance: Auto

All pictures received +10 Clarity and +10 Contrast in Lightroom, and a slight vignette was added to the ones shot against the plain grey background. To be honest, I could have used them straight out of camera, but it's ingrained in me that I have to do something to them. But it's great to be at a point with digital cameras like the Fuji system that we could actually use JPEG's straight out of the camera.

Makoto Ozone & The SNJO :: Jeunehomme CD

05--Makoto_Ozone-DerekClarkPhoto I've been shooting Project Jazz now for over two years. The project started as a one-off shoot with The Scottish National Jazz Orchestra to feature as a story on The Kage Collective website, but it quickly grew legs as a long term project with no end. My love of jazz and mutual interest with orchestra leader Tommy Smith in documenting the scene has just naturally evolved into something bigger and more important than originally planned.

One of the offshoots from doing all this work with the jazz orchestra is to have my pictures used in promotional pieces and album covers. I covered the recording session with the SNJO and saxophonist Bobby Wellins for the Culloden Moor Suit CD and those pictures were used on the inside cover. More recently the live recording of guest pianist Makoto Ozone was released as a CD with the strange title of Jeunehomme. My photographs from that concert were used exclusively for the CD. I used two copies of the CD for the photo below. The CD is on sale HERE

01--Makoto_OzoneCD-DerekClarkPhoto

The cover shot was taken with the 56mm lens at f1.2. I focused on Makoto's hands because he is a pianist and those fingers are where the magic comes from. I had already shot saxophonist Courtney Pine from the same position the month previous, so I knew I could get enough shallow depth of field creaminess at f1.2 to make his hands stand out.

04--Makoto_Ozone-DerekClarkPhoto

There's a lot of work involved in shooting these gigs and spending days in Lightroom editing, but it really is a labour of love and something I see as important. I've stood alone backstage with many amazing musicians just before they walked on stage, and I've been a fly on the wall to some great musical moments and it's all down to a camera.

03--Makoto_Ozone-DerekClarkPhoto

This is the only wide angle shot from Jeunehomme. It was taken with the XF 14mm f2.8, a lens that I no longer own as I upgraded to the newer 16mm f1.4. I'll miss the 14mm, but I need the faster lens more than I need that extra couple of mm. Plus, the 16mm comes in at 24mm in full frame terms and that's a focal length I've always liked. My last shoot with the 14mm (the day the 16mm arrived) was actually at the recording session with The BBC Scottish Symphony Orchestra for Tommy Smiths latest project. More on that very soon.

The Digital Contact Sheet :: Episode 6

DigitalContactBanner680-EP6The Digital Contact Sheet_06_XT1X5489-

I recently uploaded a video to YouTube featuring a selection of my street photography during the 2014 Commonwealth Games in Glasgow (Scotland). It's kind of a video contact sheet in a way, as there are a few shots in there that are obviously short sequences. There is one picture in the video that seems to stand out for some people and as I remembered it was a lengthy sequence, I thought it would make a great Digital Contact Sheet. Feel free to check out the video mentioned above by clicking HERE. Click on the images below for a 1500px wide version.

ContactSheetInfo06

The final contact sheet showing red markings for my favourite frames & yellow for the best one

I came across this guy feeding pigeons at George Square during the 2014 Commonwealth Games. I shot a few frames leading up to what you see above using the 10-24mm lens that Fuji had sent me to try out, but it was a bit wide so I switched to the 56mm f1.2. As you will see from the contact sheet, I started off at the subjects right hand side, but the background was messy and I moved from a low POV to standing. I still wasn't getting what I was looking for and I knew there was a good shoot here. I don't often spend as much time on a single scene when shooting street photography, but I felt it was worth sticking with and besides, neither the subject or the pigeons were bothered by me being there. I was using the Fuji X-T1. The X100S would typically be my weapon of choice, but I was testing lenses for Fuji too.

The colour contact sheet. This is the way they came out of the camera.

I moved around the scene in a clockwise direction, taking more shots than I normally would have, but the birds were changing constantly and I knew it would be a tiny move either way that could make the shot. I started off at f4, but as I moved to the subjects left side, I switched to f1.2 to blur the background and loose the distractions. Sometimes you can see all the elements of a photo and you just need to wait or keep shooting until those elements come together to make that single frame that works in all the right ways. Sometimes you wait and the scene falls apart and you get nothing.

The Digital Contact Sheet_06_SOOC_700- The image above is the straight out of camera JPEG. These last couple of years I've started to wear glasses, but I look over the top of them when looking through the viewfinder, tipping my head forward to try to get in as close as possible. This is not the best way to get level horizons, so as you can see from above and the final image below, I had to straighten the picture in post. But the point of showing the SOOC version is to let you see how nice the Fuji JPEG's are. The X-Series are the first digital cameras that I feel could have useable files without the need for computer work. If fact, adding Contrast and Clarity in Lightroom is all you might need for a great shot.

The Digital Contact Sheet_06_XT1X5489- This is the finished shot (above). 1/4000th of a second at f1.2 & ISO 200. After straightening the horizon as much as I could without chopping off part of the guys feet and hat, I sent it out the Nik's Silver Efex Pro 2 to get converted to B&W. This is my own preset for street photography, but it's mostly just a good mixture of Contrast and Structure. As long as my picture is exposed properly, it's a one click process in SEP2 and then save back in to Lightroom ready for export. As you saw from the contact sheet, there were many usable shots (maybe as many as 15), but on this occasion I felt that there was a possibility of something better. I was waiting on a gesture from the subject or something interesting from the birds. As I pressed the shutter and the image was displayed in the EVF, I knew I had got what I hoped for. In that single gesture of the hand, I knew I had what to me looked almost biblical. That was the last frame I shot of the scene with the X-T1 and the 56mm. Although I shot six more with the X100S and the TCL-X100, I knew it was pointless as I had the one I was looking for.

P.S. I have a new story published on the Kage Collective site today called Fashion Consciousness

The Next Level :: Fuji X-T1 Firmware v3.0

10-24mm-XE1X7023 
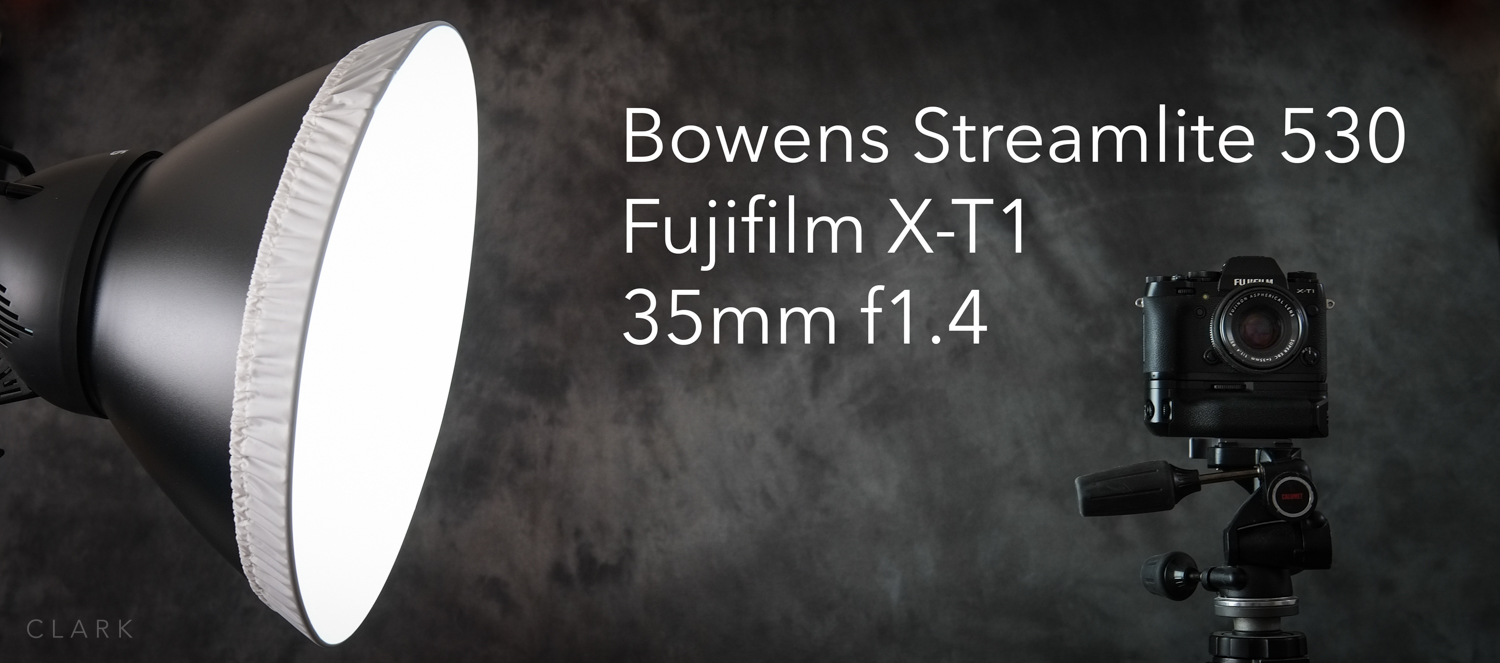
The much anticipated v3.0 firmware (they totally skipped v2) for Fuji's X-T1 has arrived and boy is this a big deal. It has a whopping 27 new features, with more than a few of my long term requests. I won't go through all of them here as they're listed on the firmware download area on the Fuji site, but I wanted to highlight a few of the most important ones here IMO. If you don't think this update is a big deal, just think of how little difference there is between a Nikon D800 and D810. Now work out how much it would cost to upgrade from the former to the later. Did I mention this 27 feature firmware upgrade was free :o)

Focus Point Selection Without Fn Button This is a big thing and I wish it would come to all of the X-series cameras. It's actually more important for other bodies than the X-T1 as each of the four buttons on the D pad could already be set individually to move the focus point. The difference now is that you can not only do this as a single option (rather than having to set 4 individually), but the focus point moves with the first press instead of being activated by the first press than moving with each press after that. I shoot with five different X-Series bodies (not at the same time though:o) and every one of them has a different way to activate focus point selection. This drives me nuts, but if this feature was added to all the other models it would make life so much easier.

Q Menu Customisation We can now customise the Q menu and although it doesn't cover everything, there is a good choice of items that can be added. This will be super useful! There are a couple of items in the Q menu that I've never used and a couple that I really needed that were missing. Out goes Colour and AF Mode. In comes Silent Mode and Face Detection. I was really annoyed when the X-T1 was released and the ability to access Silent Mode by holding the Display button down for a couple of seconds (as it is on the X-Pro1, X-E1 and X100 series) had been replaced with quick access for function button assignments. So although I'd rather have Silent Mode on the Disp button, I'm happy that it's now in my Q Menu.

Classic Chrome Film Simulation Classic Chrome Film Simulation has been the biggest buzz among Fuji users since it was mentioned around the time of Photokina this year. It's a desaturated look that will work well for documentary photography. I'll need to shoot with it for a while to know if it will become my preferred Film Simulation, but I'm excited by it and look forward to using it this weekend. The downside right now is that none of my other cameras have Classic Chrome, so I will have to shoot with just the X-T1 or switch to another film simulation if I shoot with more than one body to keep the look consistant

Electronic (Silent) Shutter With a maximum shutter speed of 1/4000 of a second, shooting outside, wide open with f1.4 and f1.2 lenses would require an ND filter. But with the addition of Electronic Shutter, we can now shoot up to 1/32,000th of a second. Another big plus to this is that the electronic shutter is absoluly silent. You think an X100 is quiet, this has zero noise. One downside is that if you shoot in fluorescent light with the electronic shutter, you will get shaded horizontal lines across your pictures. So be very careful if you are using this feature at an event that canot be re-shot (weddings etc..)

Preview Exposure In Manual Mode on Fn Button This is another important one for me as I shoot in manual mode a lot. I can be shooting outside, then in a dark theatre or maybe doing some portraits with flash. Having to find this feature in the menu was a pain and could cause shots to be missed. I have chosen to assign this to the front Fn button at the moment, but even in the Q menu (which is now possible) this would still be a lot more accessible.

Instant Macro on Fn Button I have assigned my top Fn button for Macro. This is handy, but one of the great new features is that it acts like a toggle switch, rather that having to press 3 times, or press and use the directional pad and then hit OK. It's worth mentioning that the top plate Fn button can be assigned to a seperate function in shooting mode, but will still work for WiFi when in Playback mode. One button, two functions...nice!

Reverse AE/L and AF/L Buttons Back button focusing could feel a little awkward on the X-T1 because the AF/L button is a little too far to the right. But now the functions of the AF/L and AE/L buttons can be switched, making it move comfortable (especially if you're right eyed).

3 Custom White balance Memories I'm a lover of custom white balance whenever possible. I have both a Colour Checker Passport and an ExpoDisc which can save a lot of time in post processing. Custom White balance now has three slots to store different WB setups, ideal if you shoot regularly in different locations. I didn't expect this one.

AF + MF Another handy feature that allows you to focus in AF mode using a half press of the shutter button, but then tweak it manually using the focus ring. Default is Off, so you need to turn this on after upgrading to v3.0. As with Manual Focus, the viewfinder zooms in automatically to check focus (if Focus Check is turned on in the Screen Setup menu).

A couple of features that I'd like to see added or adjusted in a future update (not wanting to seem ungrateful).

  • I was expecting that the Exposure Compensation Dial would work in Manual Mode when using Auto ISO. This one still needs fixed, because without this Manual Mode acts like 100% auto.
  • It would be great to have more features available to be part of a Custom Setting. I'm thinking of Preview In Manual Mode and maybe Macro, but there are many more.
  • I'd like to be able to use the front Fn button to activate the D Pad as individual Fn buttons while they are in Focus Point Selection Mode. Kind of reverse from what it used to be.
  • This might be a strange request, but very useful for street photographers: I'd like to shoot using the viewfinder, but to also have the focus point displayed on the LCD. No image or anything else, just the white box or a crosshair. Then the focus point could be moved into position before raising the camera to your eye.

Fuji_LCD_Focus_Point

The main thing (IMO) for future X Series cameras (and legacy ones as much as possible), is to be as consistent as possible in button layout and features. I'm really hoping for updates to my other cameras, especially my X100S. I know the new X100T has similar features to this X-T1 update, but I haven't had the X100S that long and I'd like to get some use out of it.